Chromebooks 101: how to take screenshots on your Chromebook
Source: The Verge added 03rd Jun 2022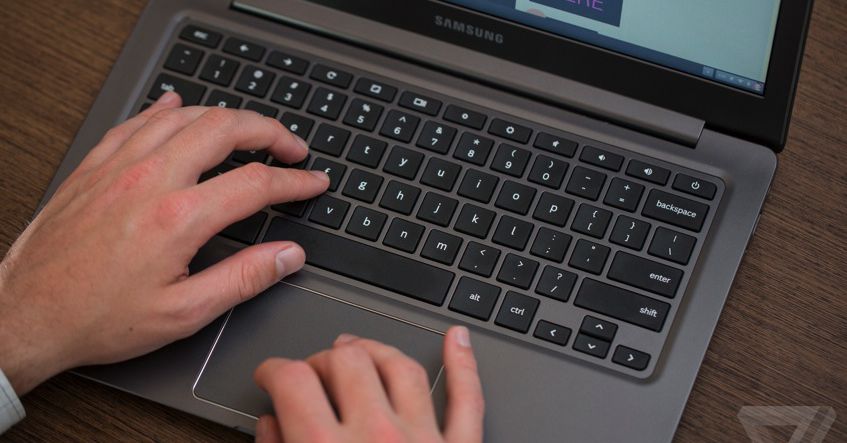
Screenshots can be useful for a variety of reasons. For example, you can send copies of error messages to support services, show a friend what your game screen looks like, or save a tweet that you suspect is going to be deleted in a few minutes. Today’s laptops all include ways to take screenshots, and that includes Chromebooks.
Chromebooks can be a little confusing for someone coming from another platform, especially because their keyboards are somewhat different than those of Macs or Windows PCs. Some keys present on other laptops are missing while new ones have been added. Luckily, there are two ways to take screenshots on Chromebooks: either by using key combinations or by using the Quick Settings pop-up.
Screenshots via Quick Settings
- Click on the clock in the lower-right corner of your screen. This will bring up your Quick Settings menu.
- Click on the Screen Capture icon. (It looks like a circle in a square.)
You’ll get a small menu at the bottom of the screen with several icons. From left to right, they’ll include:
- Screenshot (for still captures)
- Screen record (for video captures)
- Take full-screen screenshot
- Take partial screenshot (a crosshair icon will appear; click and drag it until the part of the screen you want to copy is highlighted and then let go).
- Take windows screenshot (for a single window)
- Settings
If you click on the Settings icon, you can adjust your audio input, decide whether your mic should be live, and select the folder that you want to save your screenshots or recordings to.
Using the keyboard
A faster way to take a screenshot is by using key combinations.
To take a screenshot of the entire screen, use the Ctrl + Show windows key combination. The Show windows key, which looks like a rectangle with two lines on the right side, is on the top row of the keyboard. (It’s the equivalent of the F5 key on a PC keyboard.)
- Press the Shift + Ctrl + Show windows keys to get the same menu that you’d get by going into the Quick Settings menu.
Save and edit your screenshot
After you’ve taken the screenshot, a copy of the screenshot will appear in a pop-out window just above the Quick Settings menu. Click on it to show it in the folder. Any screenshot you take will automatically end up in the Downloads folder — but you can change which folder you want to save it to via the Settings button in the Screen Capture menu.
You can also click on the Edit or Delete buttons. The Edit button will take you to a fairly useful app that lets you perform such basic tasks as cropping and rotating, rescaling, annotating, or tweaking the lighting.
Update June 3rd, 2022, 9:30AM ET: This article was originally published on January 14th, 2020, and has been updated to account for changes in the OS.
media: 'The Verge'
Related posts
Notice: Undefined variable: all_related in /var/www/vhosts/rondea.com/httpdocs/wp-content/themes/rondea-2-0/single-article.php on line 88
Notice: Undefined variable: all_related in /var/www/vhosts/rondea.com/httpdocs/wp-content/themes/rondea-2-0/single-article.php on line 88
Related Products
Notice: Undefined variable: all_related in /var/www/vhosts/rondea.com/httpdocs/wp-content/themes/rondea-2-0/single-article.php on line 91
Warning: Invalid argument supplied for foreach() in /var/www/vhosts/rondea.com/httpdocs/wp-content/themes/rondea-2-0/single-article.php on line 91